- Using AngularJS in Eclipse, Part 1) The Basics
- Using AngularJS in Eclipse, Part 2) Add Some Control
- Using AngularJS in Eclipse, Part 3) Wire up a Backend
- Using AngularJS in Eclipse, Part 4) Create Components
The example covered on this post is the Add Some Control:
1) Creating the Html, CSS and JS Files
In order to keep the AngularJS_Tests repository better organised, lets put each sample in its own folder.
After moving the The_Basics.html file into its own folder, I created a new folder:
... called Add Some Control to the WebContent folder of the AngularJS_Tests project
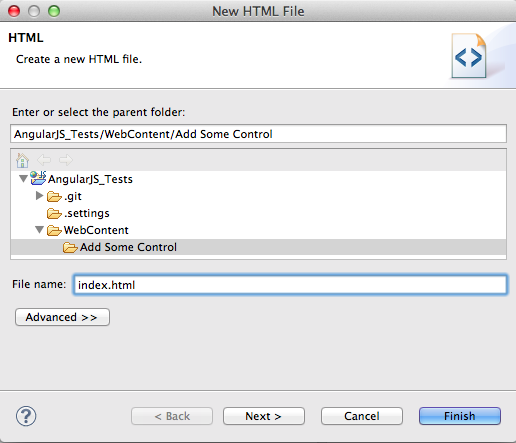
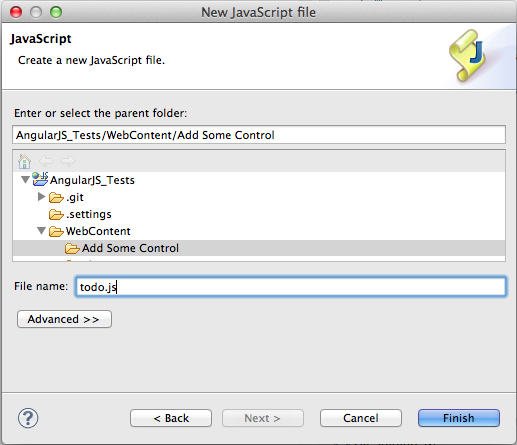
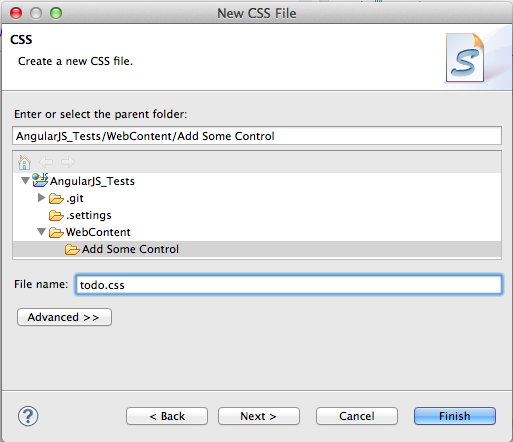
And inside it, I created the index.html, todo.js and todo.css files (each using the Eclipse default template for the respective file type)


Here is what these 3 files look with the default content:
Here is what they look like with the content from the AngularJs.org Add Some Control sample:
2) Opening up in Web Browser
To see the example in action, right-click on the /Add Some Control/index.html file, and chose the Web Browser option form the Open With menu
... which will look like this:
The objective of this sample is to add new Todos to the list shown, using the TextBox provided and the add button
So in the example shown above, after entering 'This is a new ToDo' on the TextBox and clicking add a new item will be added to the list (see below)
We can also remove Todos by using the checkboxes (see above) and clicking on the archive link (see below for the result)
2) Making some changes to the code to see AngularJS in $scope in action
To have a better understanding of what is going on, let's make some changes to the code sample.
Here is the original code
... which I'm going to modify by adding a new paragraph containing the value of the todoText variable (note that the todoText variable is used on the input HTML element, auto-wired to Angular by using the ng-model attribute).
After refreshing the browser, we can see this in action by typing some text on the TextBox and seeing it show in real time after the 'New Todo text:' text (one of the features of AngularJS is to keep all these variables in sync):
3) Changing default Todos
As another test, let's add a new default todo to the original version of the $scope.todos array (see below).
What is happening is that the $scope.todos variable is populated when the TodoCtrl is executed (part of the page build), which is then inserted into the webpage using the <li ng-repeat="todo in todos"> HTML code (see screenshot of index.html above).
Here is the new $scope.todos array entry added:
... which can be seen in action by refreshing the browser (note that it is already checked by default, since I set the done variable to true)
4) Changing default value of TextBox (after adding new Todo)
To show that we can control the $scope variables from anywhere in the TodoCtrl controller, here is an example where I'm changing the $scope.todoText to have a specific value after the add button is clicked (which is wired to the $scope.addTodo using the <form ng-submit="addTodo()"> HTML code)
After refreshing the web browser, we can see that if we add a new todo:
... the TextBox (and paragraph below) will have the value 'Default value' (vs the original behaviour of being empty)
4) Creating an 'impossible to archive' Todo
An interesting variation is to change the default value of the $scope.todos on the $scode.archive method, which, instead of being empty:
... it contains one entry:
... which means that (after refresh) and clicking on the archive link
... the WILL be added on Archive todo will now exist:
... and even if we try to archive all:
... the WILL be added on Archive todo will still be there:
5) Adding a Message label
As a final example, lets modify change the variable shown in the extra paragraph added to index.html to be message (which will be wired to $scope.message):
... and lets use that variable to provide visual feedback to the user when the TodoCtrl has executed:
Now, we should see the message 'AngularJS controller is all set' just after the page finishes reloading:
To make it more relevant, lets add a $scope.message to the $scope.addTodo method:
... and the $scope.archive method:
Now we will get this message when the page reloads:
... this message after clicking on the add button
... this message after clicking on the archive link
Finally let's refactor the $scope.addTodo method to so that it doesn't add a new Todo when no value is provided:
After reloading the page, we can confirm that trying to click on the add button without entering first any text on the TextBox will show this message:
... and if we add a new one (in this case 'not an empty todo') we will see this message:
Appendix: CSS not being rendered in Eclipse's browser.
One thing I noticed was that the style changes provided by todo.css :
... was not being shown inside eclipse (as you can see on multiple screenshots above), but worked ok in Chrome:
... and stand-alone Safari (note that there is a line-through applied when an item it checked as done)


